Proven products
from the best producers
from the best producers
from £1100
SSL certificate
Dedicated support
Product description
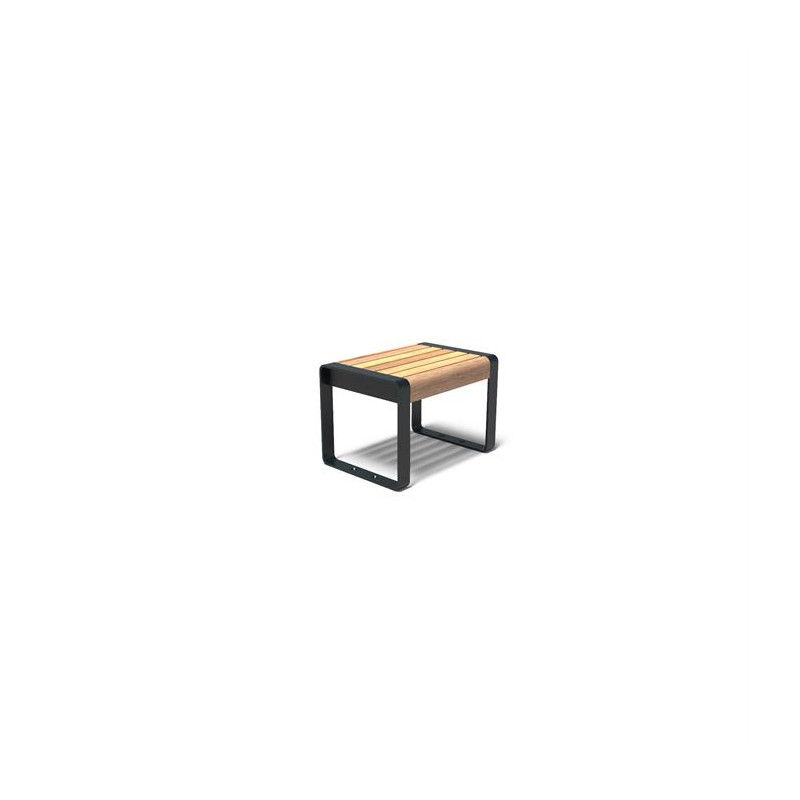
The STORR series is attractive for its simplicity, both visually and
affordable. Combined with a single STORR table
the seat is a beautiful picnic set. If the bench is longer than
standard length, will be provided with additional support in the middle
benches.
We also have a picnic set in the same series,
litter bins and bicycle stands. You can find them in our product offer
category.
General
Our benches are always equipped
in:
• Mounting holes for mounting to surfaces
• 5-year warranty (expiring)
Standard material
Frame material
• 10 mm Corten steel
• 10 mm galvanized steel + 2 layers
powder painting
Seat material
• Material: Garapa
Specifications
Important
• All products must be unpacked immediately upon delivery.
• Any type of (hard) wood will turn gray due to UV radiation, weather and wind. The final color depends on
initial color.
• Wood is a natural product that "works" and contracts or expands with temperature and humidity.
• Hardwoods can turn black on contact with Corten steel, which will eventually turn gray.
• Corten steel should never be constantly wet, it should have good drainage and ventilation in all situations.
• Corten steel products are not (completely) rusted on delivery, we only use Corten steel type S355JOWP.
• Coastal areas: We do not recommend using Corten steel within 2 km of the coastline.
• Rust residues may peel off the product during the airing process, which can lead to stains.
• Drilling / grinding into the material is prohibited.
Maintenance
• Regular cleaning (WOCA exterior surface cleaner) and sealing (WOCA exterior oil) of the wood ensures that the pigment in the wood
lasts longer and the discoloration process is delayed.
• Annual cleaning by removing dirt with clean tap water.
Note! Do not use a high pressure washer.
| 1. Provide a flat, solid (vibrated) surface. If not done properly, it can put stress on the product that may damage the product. 2. Mark the location of the holes at the bottom MIO bench and drill holes in the pavement. |
 |
| 3. Place the MIO bench on a flat surface to: holes in the posts match the drilled holes. The MIO bench can be placed on on the sidewalk and set up anywhere, no digging required. 4. Fasten the bench to the pavement with pegs. Note! First, loosely tighten all the screws, then which can be tightened one after the other. |
 |